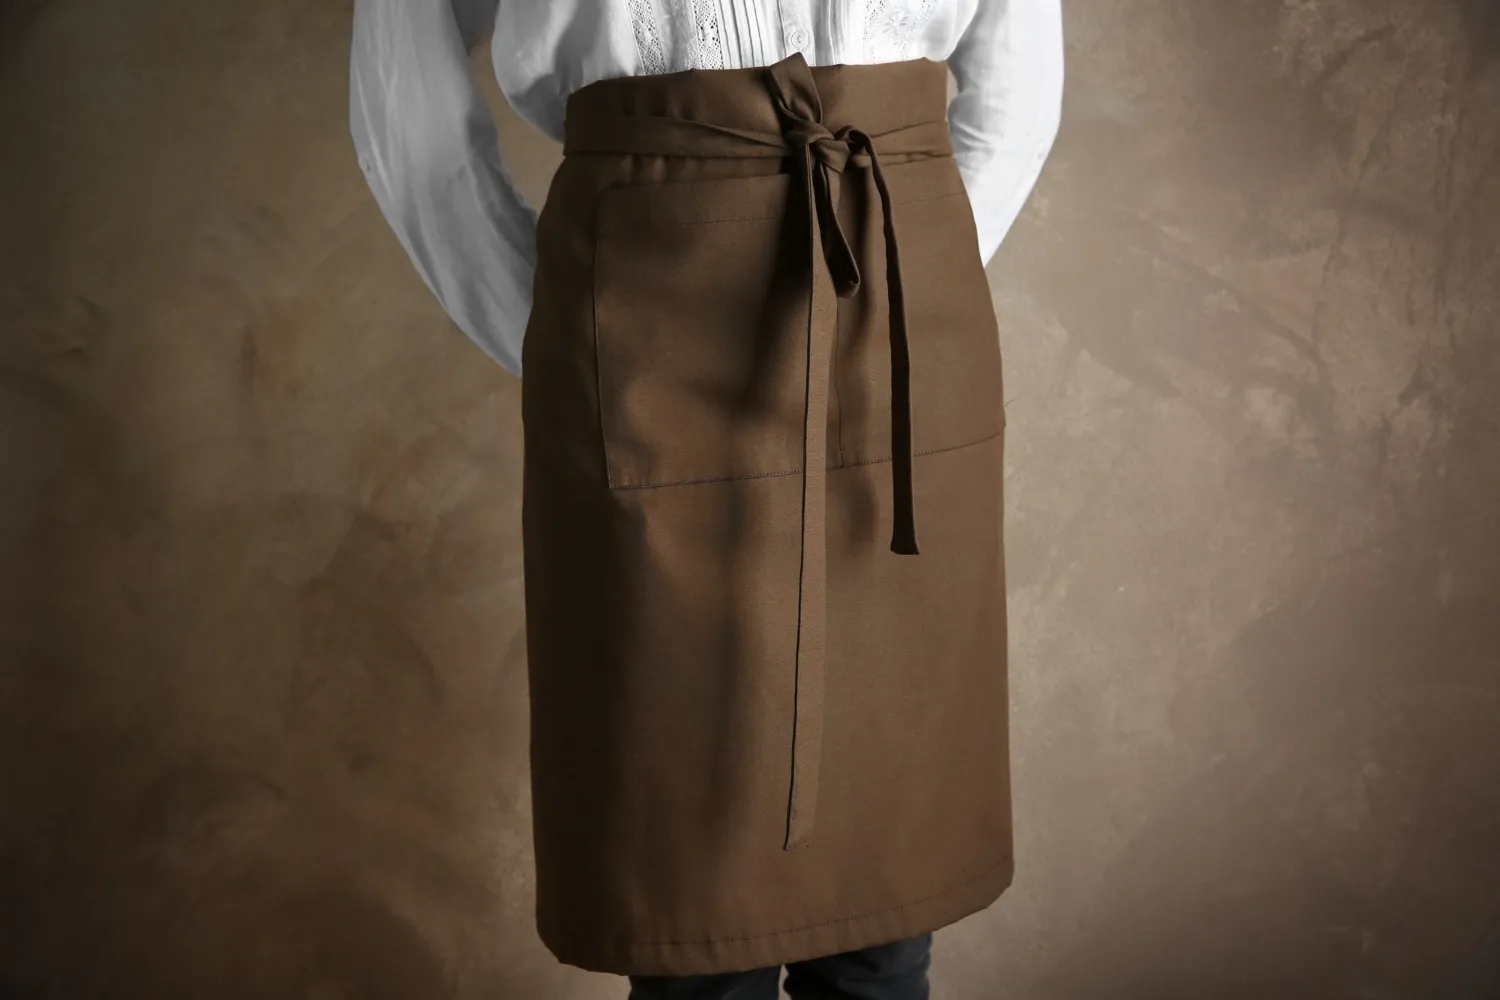
How to Tie an Apron Behind Your Back
Aprons are great to wear when baking or cooking. They not only help to prevent any mess – like splashes of sauce or bits of cake batter – on your clothes, but also prevent hairs, dust, and dirt from getting into your cooking. However, to make the most of an apron, it’s important to know how to tie it correctly.
This guide will look at how to tie an apron behind your back.

How to Tie an Apron Around Your Back: Step-by-Step
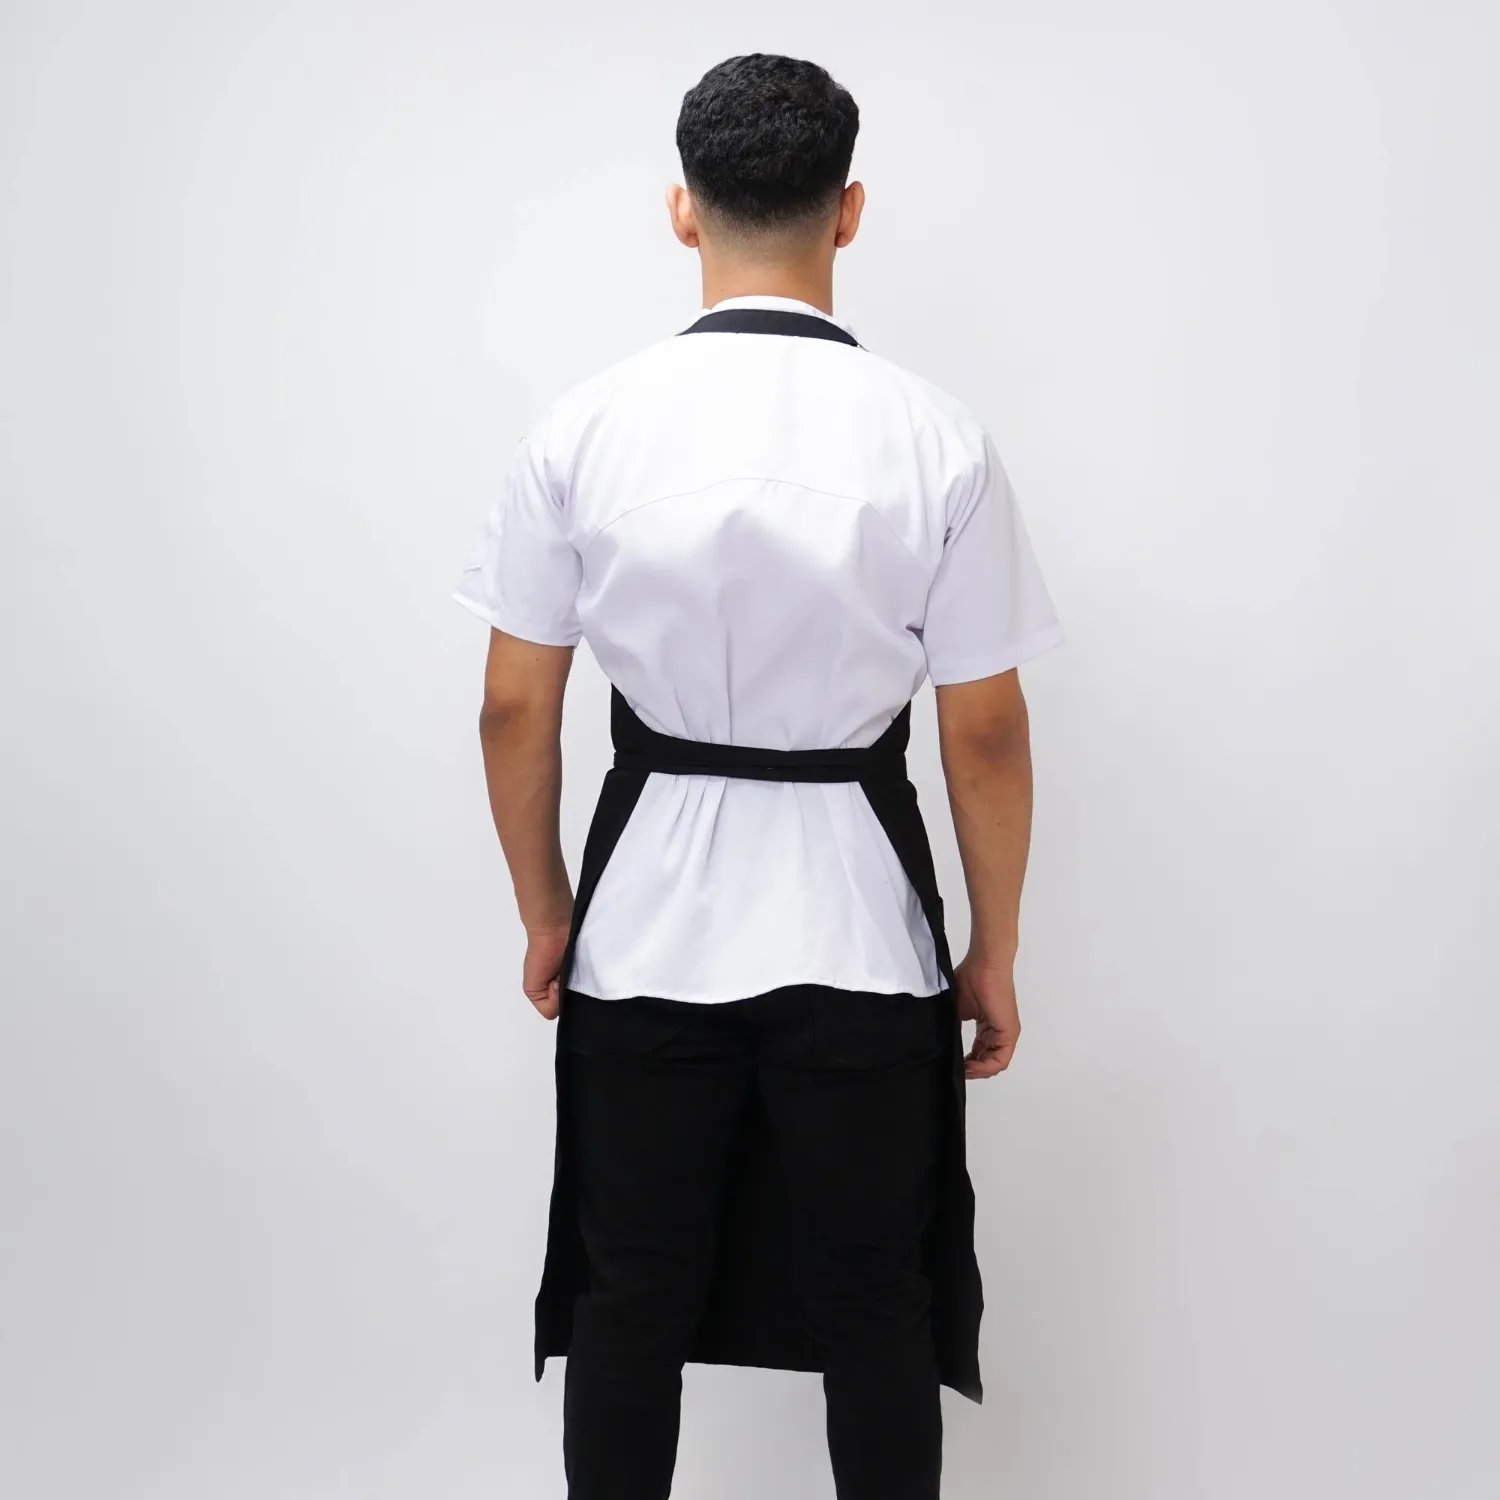
While there are several ways to tie aprons, most people opt for the classic behind-the-back method, tying the strings together behind them to secure the apron in place. While it might seem a little tricky to tie a knot that you can’t see, it tends to get easier with practice.

Here’s how to tie an apron this way:
- Put the apron over your head.
- Take the left string in your right hand and the right string in your left hand and pull them tight, so that the apron fits snugly around your torso. But don’t pull it too tight – you should still be able to breathe and move around comfortably.
- Tie the strings together in a usual knot or bow, just like how you would tie shoelaces, and pull them tight to secure the apron in place.
- Tug the front of the apron to check the level of tightness. If it feels too loose, redo the knot. If it feels fine, you’re done!
How to Tie an Apron Around Your Neck: Step-by-Step
Some aprons also have to be tied in place behind your neck. In fact, in many cases, it’s best to tie the neck straps first and then tie the apron around your back.
Here’s how to tie an apron behind your neck:
- Position the bib of the apron (the main piece of fabric covering your chest) around five inches below your collar bone.
- Take the neck strings in either hand and bring them behind your head.
- Tie the strings together using a simple shoelace knot.
- Adjust the knot tightness and position accordingly so that you feel comfortable and the bib is in the right place.
- Once everything is securely fastened, you can usually leave the knot tied and simply pull the apron over your head whenever you want to take it off or put it back on.

Note that some aprons also come with closure loops at the top of the bib. In that case, you just need to take the single neck loop around the back of your neck, then feed it through the closure and tie or fasten it in place when the bib is at the right height.
Tips and Tricks to Help You
By following the steps above, you should be able to learn how to tie an apron behind your back. However, not everyone finds it so easy. In fact, many people struggle at first with tying the apron strings behind them, as it’s something that they’re not used to.
Indeed, it’s often quite tricky to figure out where your hands are when you can’t see them in front of you. Finding and maneuvering the little pieces of string is also a challenge for a lot of first-time or inexperienced apron users.

Fear not. With a handful of simple tricks at your disposal, the process will become a breeze:
- Practice: Practice makes perfect. That sage old saying certainly applies when it comes to learning how to tie an apron.
- Ask for Help: Don’t be afraid to ask a friend, family member, or colleague to help out or guide you while tying your apron, if you find it hard.
- Use Shoes: A lot of people like to practice their tying techniques with a pair of shoes. Close your eyes and try tying your laces. If successful, move on to tying the apron in the same way.
- Tie it in Front: You can also simply tie the knot loosely in front of you, then spin the apron round to your back to tighten it, if you’re really struggling.
- Use Longer Ties: If your apron has long enough ties, you can draw them all the way to the front of your body and tie the knot from there. Now you won’t have to worry about tying it behind you.
Make Your Own Aprons with Custom Aprons Now
Anyone can learn how to tie an apron. All it takes is a little bit of patience and a little bit of practice. Once you’ve got to grips with the process, you might want to invest in a fancy customized apron of your own. If that’s the case, Custom Aprons Now is your new best friend.

At Custom Aprons Now, we allow you to create your own amazing apron in the size, style, and color of your choice. You can take your pick from dozens of different options, then add your own artwork and design to make your apron one-of-a-kind.
- Select your favorite apron style from dozens of available options, like kangaroo pocket aprons, cotton aprons, denim aprons, and more.
- Customize with your own logos, colors, and text, choosing from a range of printing methods, like full-color imprints and custom embroidery.
- Pick a guaranteed delivery date that fits your schedule.
That’s it! Once you’ve done that, you can sit back, relax, and wait for our amazing apron experts to bring your design to life and ship it direct to your door. It’s the perfect way to get a top quality, personalized apron you can use for years, or an awesome gift for a loved one who loves to cook.